Pop Design For Bedroom With Fan
Design cool, scalable pop art with Illustrator
During this tutorial you'll discover some visual simplification techniques that you can use on photographic images, re-constructing them into a matrix of coloured vector circles in a pop art style.
You'll learn how to choose the right image to use the technique on, about proportional composition of the matrix and adjustment of colours. As with many tasks in life, preparation is the key element to generating a striking and interesting end result, so you need to pay particular attention during the early processes.
Learn how to print a poster over at Creative Bloq.
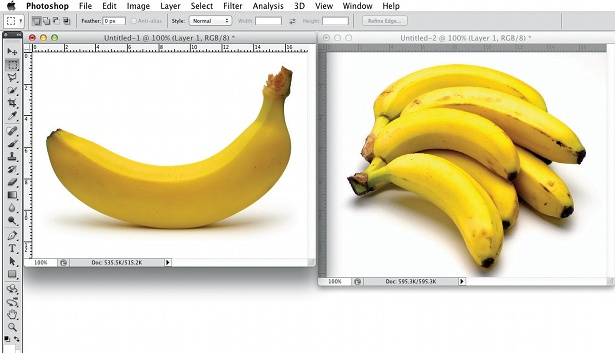
01 The most important aspect of this tutorial is selecting the right kind of object to illustrate. Consider its silhouette, colour and overall complexity. All of these factors will affect the end result both positively and negatively. Here, we've chosen a banana as it has a highly recognisable outline and colour. More complicated images will require a larger quantity of circles for a recognisable result, which defeats the purpose of the technique. We took two shots in the studio: a single banana and a bunch.

02 There are a number of ways to simplify the image into a palette and structure that will make the process easier. Over the next steps I'll show you the results on both images and explain why the single banana will work better than the bunch of bananas. The first method of simplification is to reduce the resolution of the image in Photoshop. Go to Image>Image size>Resolution>2 pixels per inch.
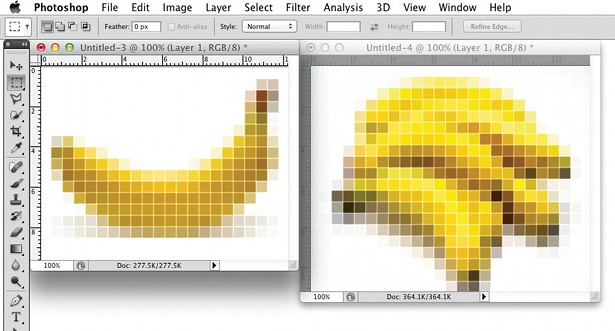
03 A simplified version of a single banana is visually clearer than a bunch. This is because of its strong silhouette against a white background and its overall simplicity. If you're working with a photograph with background detail, it's best to cut the object out or consider re-shooting it. We'll return to this step after a brief explanation of other simplification techniques.
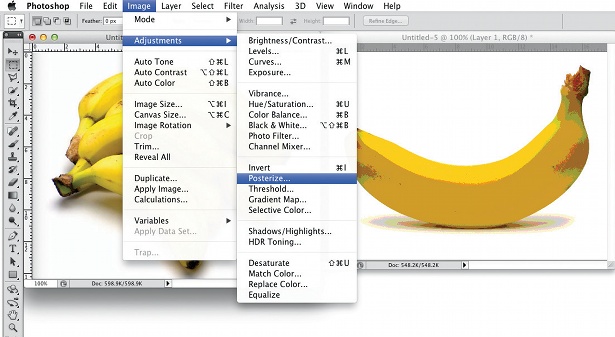
04 You can use the Posterize option in Photoshop to simplify the image down to a set number of colours. Here we've used five levels by going to Image>Adjustments>Posterize> 5 Levels. The result provides you with an image that breaks down the colour areas and looks screenprinted.

05 You can also use the Live Trace tool in Illustrator to limit the colours and simplify the image. This creates a vector recreation of the object, which is useful in scaling objects and creating a limited-colour illustration. However, it also uses the most processing power of the three simplification methods covered here. Go to Menu>Object>Live Trace>Tracing Options. On this screen you need to select the colour tab and choose how many colours you would like the program to utilise (we chose six).
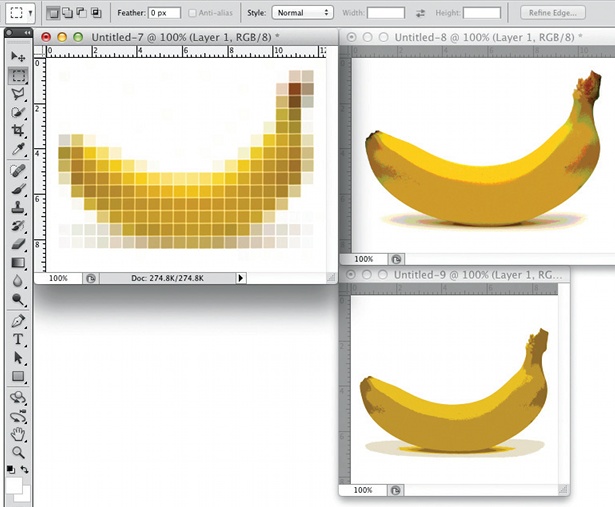
06 Both the Posterize and Live Trace options create a good-looking image to work from, but the reduction in resolution using Photoshop gives you an idea of how the end result will come out by breaking the image up into a matrix of squares. Using this method you can quickly see if an image will work, the rough size that your circles will be and whether you need to increase the number of circles in your matrix. With the other methods it's a case of trial and error to find a good matrix composition.
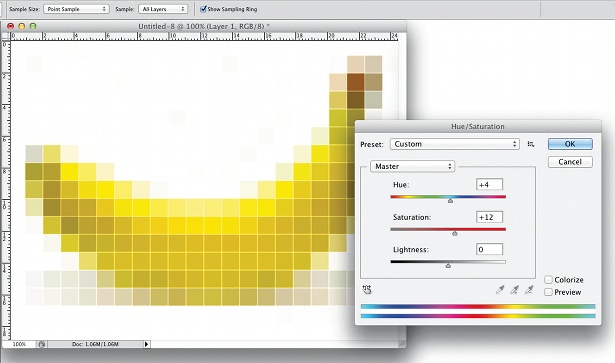
07 Whichever method you choose, you'll notice that some of the colour has been lost in the simplification process. At this stage, take your chosen image and adjust the colours back to something approximating the original using Image>Adjustments> Hue/Saturation in Photoshop.
Current page: Page 1
Next Page Page 2
Related articles
Pop Design For Bedroom With Fan
Source: https://www.creativebloq.com/computer-arts/design-cool-scalable-pop-art-illustrator-1137675


0 komentar:
Posting Komentar